In this write-up we intend to condense exactly how to lay laminate flooring into six very easy actions that you can comply with in your home. Keep in mind, if you’re not exactly sure how to lay laminate flooring and also of your DIY skills as a whole, it is constantly a great idea to ask an extra knowledgeable close friend if they can aid you out – even if it’s simply to obtain you off on the ideal foot. The procedure of laying laminate flooring has actually advanced together with the technological advancements with the real floor boards themselves, and is a perfectly achievable task for even one of the most modest DIY enthusiast. One important point to bear in mind before we get going with our exactly how to lay laminate flooring overview is to ensure your laminate flooring has actually been left in the setting you intend to mount them in for at the very least 48 hrs prior to you begin laying. This is really crucial, as the boards have to be allowed to acclimatise to the new space temperature as well as wetness degrees it will be subjected to. The boards themselves will certainly then increase or acquire accordingly during this period. Along with this, you additionally need to ensure the surface of the flooring is thoroughly cleansed, and all dirt and also debris is gotten rid of. When you come to lay the floor tiles as it may alter the degree of the sub-floor, any type of debris left on the floor surface might trigger a variance.
Okay, allow’s begin our guide to how to lay laminate flooring:
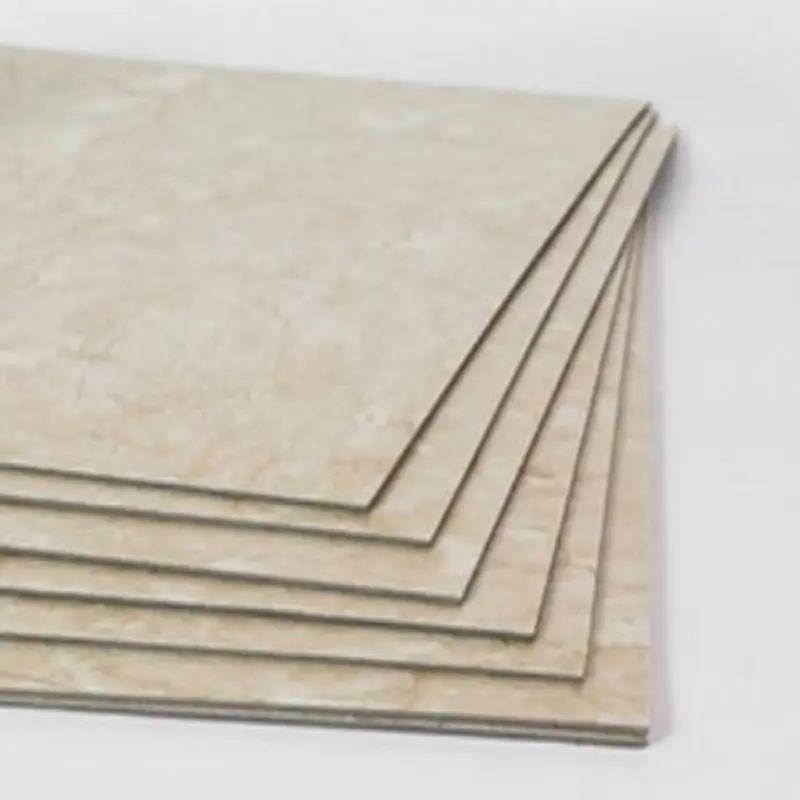
Action 1 – what you’ll need
You will certainly discover the complying with equipment as well as products extremely useful, if not crucial:
a laminate cutter
ceramic tile spacers
knee pads
safety glasses
a pencil
set square
gaffa tape
a hammer
a sharp craft knife
a drawing bar
tapping block
foam rug
Step 2 – determining for your laminate floor
In order to buy the appropriate amount of laminate flooring, you’ll require to locate out the complete settled location that you need covered. Luckily laminate flooring comes in packs (which differ in the amount of boards they have depending on the type you acquire), which indicate both the individual board size of the panels, as well as the overall location covered per pack. To calculate just how lots of packs of laminate flooring you’ll need for your task you’ll need to initial multiply the size by the deepness of your area.
It’s essential to purchase 10% additional boards than you’ll need simply in case you make any mistakes, or there’s been any miscalculations. This will avoid the task being possibly stood up, or a situation where you know you need extra boards, however they’re out of stock or terminated.
Step 3 – marking out your flooring
Whilst you do need requirement to note out where you will lay each laminate board as you would with laying ceramic tiles, it is very vital to establish exactly how you will certainly lay your first row, and also to get this. Consequently, before we relocate onto laying the padding, choose currently where you will begin laying your very first row of laminate, and also the direction the boards will certainly be entering. It’s constantly suggested to start laying your flooring in the lightest part of the space. When you have determined where your initial row will go, lay your row as a test, remembering to make use of spacers in between the boards and also the skirting board. This trial row will aid establish just how much of the end-row board you will require cut off in order to make the flooring fit. This works to prepare ahead of time since you ought to prevent a circumstance where you are having to cut more than 50% of the deepness of the board away (the short side), or less than 400mm of the size of the board away (the lengthy side). This is due to the fact that it will certainly jeopardize the strength of your floor.
Tip 4 – laying rug
Start laying your padding by initial ensuring you have your spacers in position, as well as you are laying the rolls at a 90 level angle to the way you will lay your laminate boards; this is to avoid the joints between the pieces of rug ever before corresponding to the joins in between the item of laminate flooring As you lay the padding, laminate flooring manufacturer ensure there is no space or overlap in between the areas as either of these might trigger the laminate boards to sink or stand honored. The objective right here is a good consistent surface. Tape down the signs up with in between the areas with a little bit of masking tape to hold them in position.
Step 5 – laying laminate flooring.
Now you come to in fact laying the laminate flooring itself. Adhering to the format you currently exercised in Step 3, start laying your laminate flooring bearing in mind to keep the spacers in place in between the laminate flooring as well as the skirting board to enable expansion. If you’re utilizing tongue and groove laminate flooring, simply present each new board at a 45 level angle to the previous one, and carefully reduced the new board in position. You should really feel the tongue click right into the groove, as well as the boards should sit flush with each other. It is suggested to use a drawing bar and also a defeating block to assist urge each board right into place after you’ve laid it. Drawing bars are made use of when you get to the end of a row and don’t have enough area to utilize a whipping block.
When you come to reduce your end-of-row boards, the easiest means to do this is to lay the board in position where you mean to position it, ad mark on either side when a cut will certainly require to be made. Using your collection square, join the marks up to provide you a great straight reducing line. Using your laminate cutter, or the saw you have available, reduce your laminate board, initial monitoring which side of the board should be facing upward to minimise damage (this will rely on the kind of saw you’re using). Do not fail to remember to put on safety security while you do this.
Action 6 – using the completing touches
Ideally, leave your freshly laid floor for two days prior to including any kind of finishing touches such as trims, scotias, or transition bars. This will certainly provide the floor covering extra time to acclimatise to the room, and this is where that 10mm void we left in between the floor covering as well as the skirting boards enters play, allowing the flooring to expand without running out of space.
Reducing trims and also scotias for browsing around edges is simplified with a mitre box that will aid you reduce perfect tilted cuts. You can use shift bars in between your new flooring, and other flooring surfaces that satisfy in entrances. These are easy to fit, as well as assistance create a tidy transition.
Congratulations! You currently know just how to lay laminate flooring!